Hello everyone! Today I have a simple gradient topped with glitter combo to share!
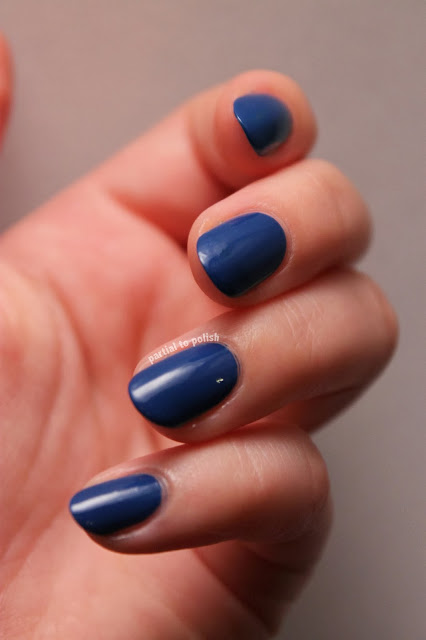
For this look I started off with one coat of Essie Mesmerized, as pictured below! This polish could easily be a one-coater if you're careful enough, but since I knew I wanted to do some nail art on top it was okay that I wasn't overly cautious on some nails. Also, my light box is incredibly forgiving when it comes to bald spots, which is very convenient when I'm just swatching the bases for my nail art!
Anyways, onto the swatches and nail art!
This is one coat of Essie Mesmerized and no top coat!
The other colour I used for the gradient was a lovely OPI yellow called Fiercely Fiona! I mixed varying amounts of Mesmerized and Fiercely Fiona for the two in between colours in attempt to create a smoother gradient. I've started using eyeshadow brushes for gradients and just sponging on one colour at a time. It's much less messy that way and requires much less cleanup!
The glitter topper I slapped on top of it all is Black Sheep Lacquer Grab Your Toque, a lovely red and white glitter topper as you can see! I thought it would contrast nicely with the blue and yellow and I really like the effect!
Thank you so much for reading my lovelies! :)
Monday, 30 September 2013
Saturday, 28 September 2013
Mosaic Tile Nail Art!
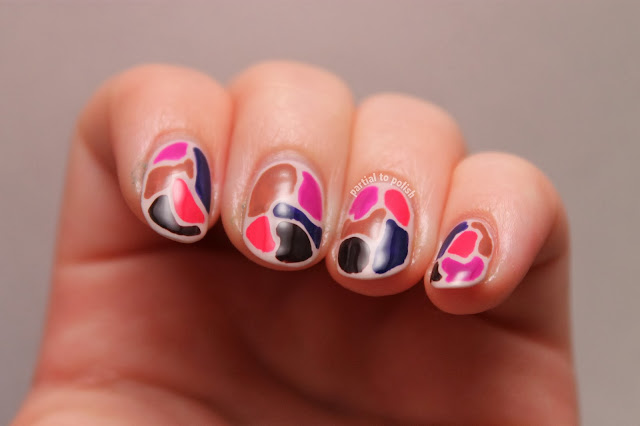
Hello everyone! Today I have some tile/abstract stained glass nail art for you!
I sat down with a bunch of my untried/once-tried polishes last night and I decided I'd do a mosaic-inspired manicure. As always, I used one of my two tiny brushes that I've cut most of the bristles off of (this time the fatter one)! For these nails I started off with one coat of Orly Decades of Dysfunction which is part of the Dark Shadows collection Orly put out a while ago. Decades of Dysfunction is definitely a two-coater, but I thought my blobs of colour would cover the streaky parts well enough! The whole collection went on sale at Sally Beauty a month or so after it came out, so of course I had to pick some up! :P
I've been playing around with my light box and I think I've come to the conclusion that just one lamp shining in from the top produces the best pictures. These pictures are the first ones I've taken that are all using just one lamp, do you think these look better than my other recent pictures? I think my skin looks the right colour here; not too red or too yellow. What do you guys think? I'd love if you let me know in the comments!
Anyways, onto the pictures and other polishes used!
My not as well-painted right hand! :p
Thanks so much for reading everyone! As always, leave any requests in the comments and I'll fill them for you if I can! :)
I sat down with a bunch of my untried/once-tried polishes last night and I decided I'd do a mosaic-inspired manicure. As always, I used one of my two tiny brushes that I've cut most of the bristles off of (this time the fatter one)! For these nails I started off with one coat of Orly Decades of Dysfunction which is part of the Dark Shadows collection Orly put out a while ago. Decades of Dysfunction is definitely a two-coater, but I thought my blobs of colour would cover the streaky parts well enough! The whole collection went on sale at Sally Beauty a month or so after it came out, so of course I had to pick some up! :P
I've been playing around with my light box and I think I've come to the conclusion that just one lamp shining in from the top produces the best pictures. These pictures are the first ones I've taken that are all using just one lamp, do you think these look better than my other recent pictures? I think my skin looks the right colour here; not too red or too yellow. What do you guys think? I'd love if you let me know in the comments!
Anyways, onto the pictures and other polishes used!
Pink: American Apparel Angeline
Neon purple: Essie DJ Play That Song
Dark brown/purple: Essie Carry On
Dark blue: OPI OPI... Eurso Euro
Brown: OPI Chocolate Moose
My not as well-painted right hand! :p
Thanks so much for reading everyone! As always, leave any requests in the comments and I'll fill them for you if I can! :)
Tuesday, 24 September 2013
Green and Blue Spiral Nail Art!
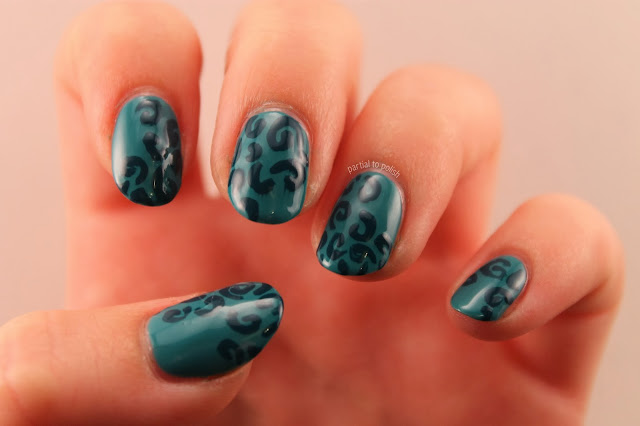
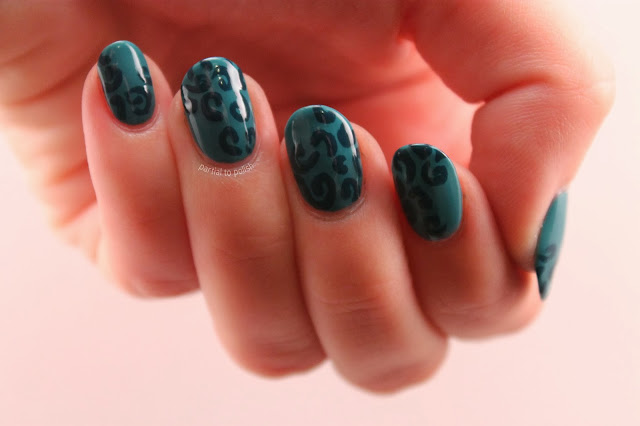
Hello everyone! Today I have some spiral/squiggle nail art for you!
For these nails I was inspired by some subtle rose nail art that Candace of MrCandiipants did!
I started off with two coats of my base, and then I just drew on the spirals with a small detailing brush. The base I used here is probably my favourite nail polish I own; green and teal are definitely my favourite colours and this is basically a mix of both! It's a lovely crelly polish that's almost a one-coater, and I swear it's so shiny that putting on my top coat (Essie Good To Go) dulls its finish.
Anyways, onto the photos and colours used!
Teal base: Nyx Girls Mermaid Green
Dark blue/teal spirals: Essie Go Overboard
My right hand! Sorry for the dry cuticles! I'd definitely recommend never stopping caring for your cuticles with oils, butters or cremes because it really takes forever to make them nice again! :P
Thanks so much for stopping by everyone!
Saturday, 21 September 2013
Black and White Random Designs!
Hello my lovely readers! Today I have some black and white random design nail art to share!
I'm super happy with the way these came out, unlike how I felt about my last post :P.
For these nails I used a fairly small nail art brush and a very small nail art brush (both modified by me to make them thin enough for nail art). I basically sat down knowing I wanted to have polka dots on one nail and no other ideas! After finishing my first hand, I decided to do similar designs on my other hand to try and match my first designs.
Anyways, onto the pictures!
Thank you so much for stopping by everyone, I hope you're all doing well! :)
I'm super happy with the way these came out, unlike how I felt about my last post :P.
For these nails I used a fairly small nail art brush and a very small nail art brush (both modified by me to make them thin enough for nail art). I basically sat down knowing I wanted to have polka dots on one nail and no other ideas! After finishing my first hand, I decided to do similar designs on my other hand to try and match my first designs.
Anyways, onto the pictures!
Black used: Orly Liquid Vinyl
White used: OPI My Boyfriend Scales Walls
Thank you so much for stopping by everyone, I hope you're all doing well! :)
Wednesday, 18 September 2013
Half Moon Triangle Nail Art!
Hi everyone! Today I have some really simple triangle half moon nails to show you!
For the first time ever I painted my nails with insufficient light, and it definitely shows! My triangles are all wonky and there are bald spots in my base colour! :P
Anyways, since I'll probably be repainting my nails pretty soon and posting a better mani soon, let's just get on with it and onto the pictures!
Blue base: Black Sheep Lacquer Badass
Black triangles/half moons: Orly Liquid Vinyl
Thank you so much for reading everybody! I'll have some more interesting nail art and Black Sheep Lacquer swatches for you all very soon! :)
Labels:
black,
Black Sheep Lacquer,
blue,
half moon,
indie polish,
nail art,
Orly,
shimmer
Thursday, 12 September 2013
More Simple Floral Nail Art!
Hello everyone! Today I have some simple floral nail art for you!
I realized after I did this that it looks a lot like some nail art Sarah of Chalkboard Nails did awhile ago! To me, it's hard to tell if the blue or the other colour is on top for both of these designs. Sometimes it looks like the purple is on top (as in I started with a blue base) and sometimes it looks like the blue is on top and the purple was the base (which is how I did it and how it is).
I just used a medium-sized striper brush for the flower petals and a tiny striping brush (a normal striping brush I cut most of the bristles off of) for the flower centres!
Onto the pictures and polishes used!
Purple base: One coat of Butter London Toff
Blue petals: Zoya Kristen
Off-white centres: OPI My Vampire is Buff
My right hand!
Thank you so much for reading everyone, I hope you're having a wonderful day! Stay tuned for a bunch more Black Sheep Lacquer swatches coming soon!
Labels:
blue,
Butter London,
creme,
flowers,
indie polish,
nude,
off-white,
OPI,
purple,
Zoya
Monday, 9 September 2013
Textured Matte Hearts!
Holy crap, it's me!
So I am FINALLY back into nail art and nail painting period! I didn't feel like myself leaving the house with short bare nails, and though they're not long yet, I feel so much better about them!
Today I have some textured matte nail art to share, because I wanted to find a way to incorporate textured polishes into nail art!
For this look I used a small nail art brush to paint the hearts after my base colour and layer of top coat had dried.
Onto the pictures and colours used!
Purple base: Essie No More Film
Yellow textured matte polish: Sally Hansen Sweetie
Thank you so much for stopping by everyone! I'm thinking of doing the 31 Day Challenge at my own pace, is that something any of you would like to see? Let me know in the comments if you have any other suggestions! :)
Subscribe to:
Posts (Atom)


