Tuesday, 30 July 2013

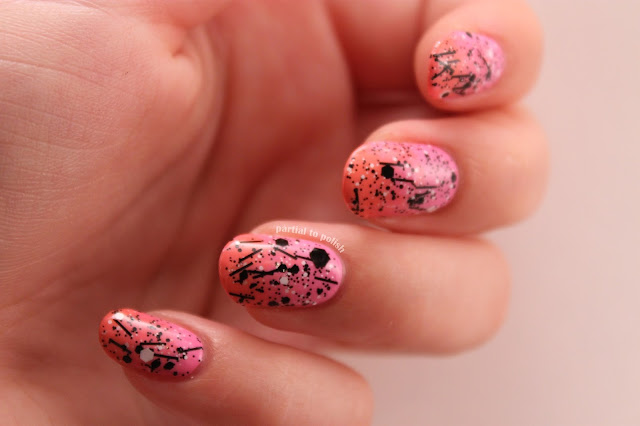
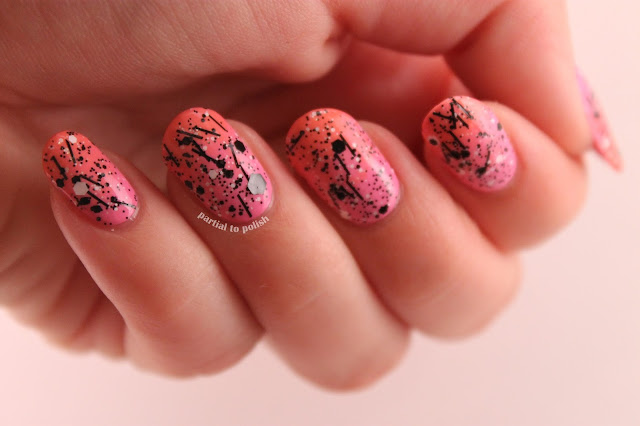
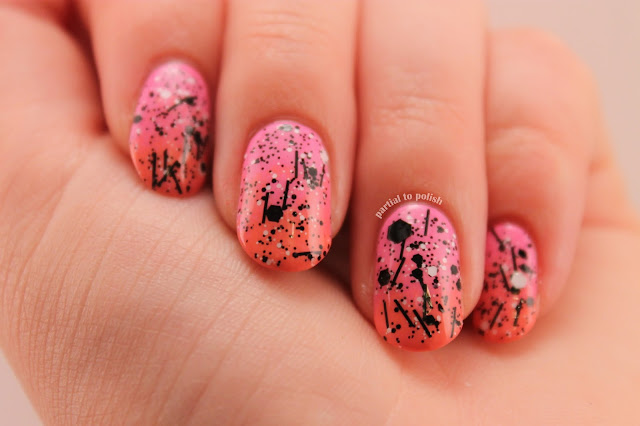
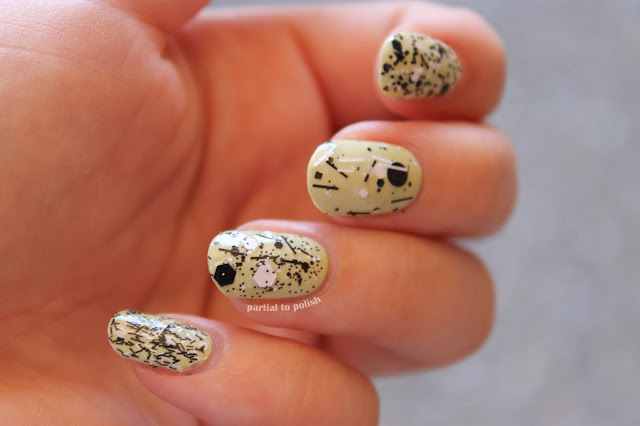
Speckled Sunset Gradient Egg Nails featuring China Glaze Fancy Pants!

Hello everyone! Today I have a swatch of China Glaze Fancy Pants and some speckled-egg-looking gradient nail art to share!

I'll be swatching four more Black Sheep Lacquer polishes tomorrow night for all you lovely people and for Erin's shop!

Speaking of shopping, I broke my no buy yesterday :(. I had this feeling yesterday morning that I would find something perfect and have to buy it and I did! It's a lovely black maxi skirt that puffs out a lot when you spin (it has a lot of fabric). It dips down lower in places at the bottom so it isn't just cut straight across which I love! I'll just pop a picture of it down below because I'm so in love with it! It looks a bit gothic to me which I really like because I don't usually dress that way!


Onto the nails!

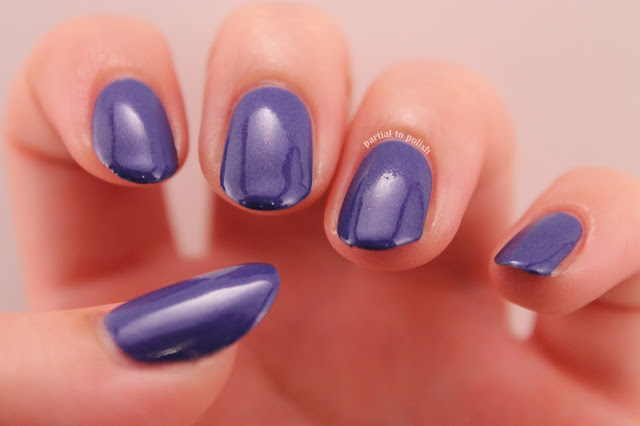
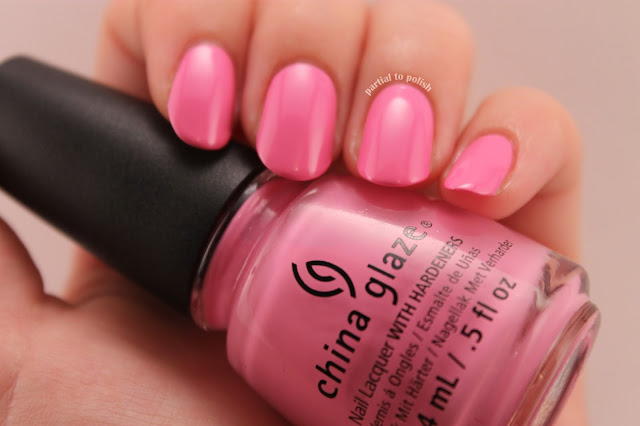
China Glaze Fancy Pants

This is two coats of Fancy Pants plus top coat. A coat of top coat really brings this polish to life and lets you see the gorgeous pink shimmer!

China Glaze Fancy Pants


I was going for a gradient leopard print today, but I decided to stop here because I love the look of these! I also skipped top coating this because I liked the fact that the little shapes are slightly raised! The colours I used for this pattern were: Essie Tart Deco (orange), China Glaze Dance Baby (pink, already coming in handy for nail art!) and Essie Play Date (purple).


Thanks so much for taking a look everyone! :)

Sunday, 28 July 2013

Abstract Watercolour Flower Nails!

Hey there friends! It's about one in the morning where I live and I just finished painting my nails and taking pictures of them! Today I have nails that look a bit floral in real life (the yellow and orange bits look like flowers) but not so much in these pictures. I also took pictures of OPI My Vampire is Buff on its own before I jazzed my nails up!

I'll have more Black Sheep Lacquer swatches for you all very soon! Erin's made at least a few new polishes and I'm really excited to see and swatch them!

Also, I said in my last post that I'd do some nails to match an outfit next and I didn't end up doing them today. I'll try to next time I paint my nails, I just have to find a cool patterned shirt in one of my shirt buckets (I organize my clothes strangely)! I apologize for the remnants of my nails that I filed off today appearing in the photos! I didn't manage to get that stubborn thin layer of nail that doesn't file off off of every nail I guess!

Without further ado, onto the pictures!

OPI My Vampire is Buff

This is two coats of My Vampire is Buff which isn't enough coats for this polish to be opaque unfortunately. My light box setup is very forgiving because the two coats look opaque enough in these pictures! I didn't bother with a third coat because I knew I'd be covering my base with some nail art. I also added a coat of my usual top coat (Essie Good to Go) before taking these pictures, because I didn't want the polish thinned with acetone to remove my base colour!

OPI My Vampire is Buff


Here is my first attempt at watercolour nail art! I followed MrCandiipants' tutorial for this design, you should check her out if you never have because she's hilarious and so creative! I didn't thin out the polishes enough, but I decided I didn't mind the stripey look and kept adding colours! Speaking of which, the polishes I used were: American Apparel Mannequin (peach), OPI Fiercely Fiona (a super unique shade of yellow, absolutely love it!), and China Glaze Bahamian Escape (blue)!


My elusive right hand!

Thanks for having a look everyone! :)

Thursday, 25 July 2013

Re-swatched Black Sheep Lacquer's Lateralus (holographic top coat)!

Hey all! Today I have better swatches of Black Sheep Lacquer Lateralus to share! It's been so sunny here so I thought holographic nails would be awesome! I was out shopping all day (which totally exhausted me) so I decided to do a quick mani before I went out. I was staring at my nails in the Sun all day!

I'm going on my first ever no-buy month starting today because I bought a lot of clothes (and some polish) today. I would love to have another blog where I posted clothing hauls and OOTDs because I want to share my weird style with the world! I scored some black Jeffrey Campbell Litas for fifty bucks the other day off of eBay (plus fifty dollar shipping) and I'm thinking of doing a mani and photo shoot with the shoes and nails once they get here! I like to think I can post outfits or clothing bits on here as long as I do my nails to match, what do you guys think? Would any of you be interested in another blog from me featuring hauls and outfit of the days? Let me know in the comments! :)

Onto the pictures!

Black Sheep Lacquer Lateralus

The blue I used here is one coat of OPI OPI... Eurso Euro and the white is two coats of OPI My Boyfriend Scales Walls! This is just one coat of Lateralus over both!

Black Sheep Lacquer Lateralus

Black Sheep Lacquer Lateralus

Black Sheep Lacquer Lateralus

Thanks for reading everybody! I love getting comments so feel free to talk to me! :)
Wednesday, 24 July 2013

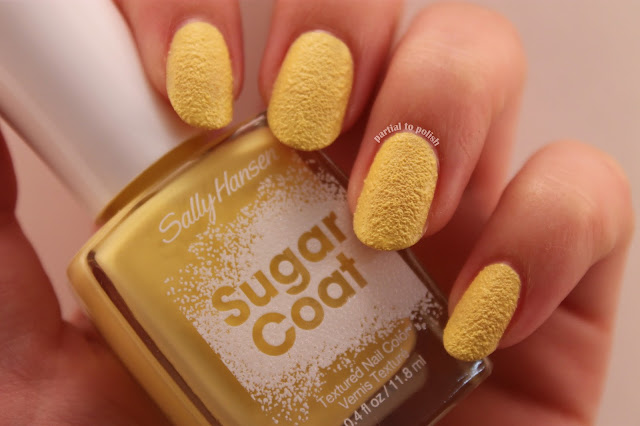
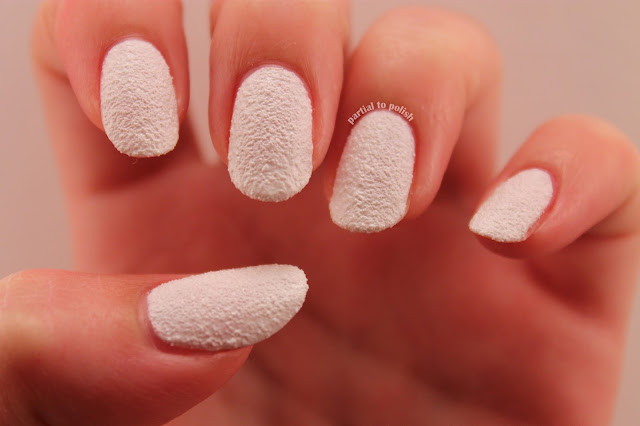
My Picks from the Sally Hansen Sugar Coat Collection: Swatches and Review!

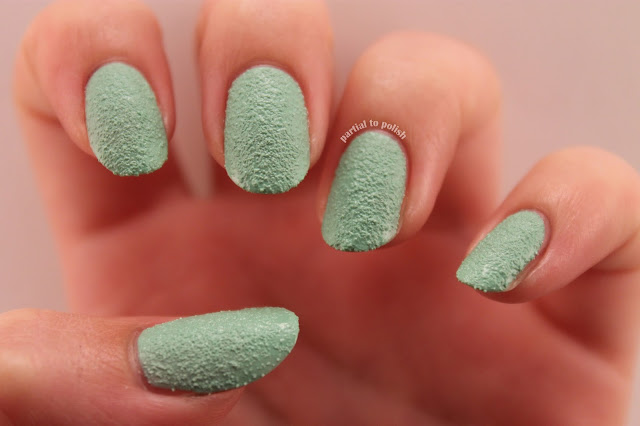
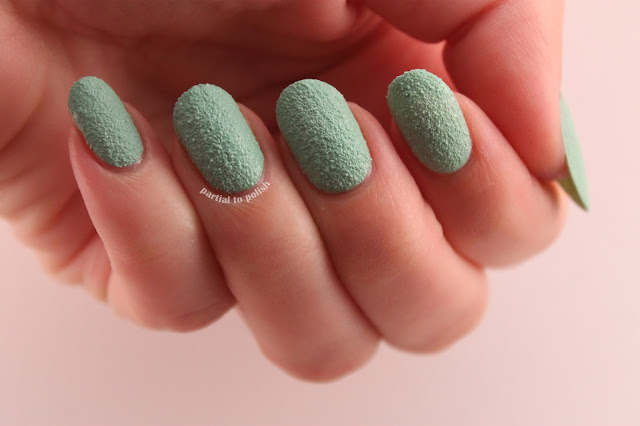
Hello everybody! Today I have swatches of the five Sally Hansen Sugar Coat polishes I picked up from the States last month to share!

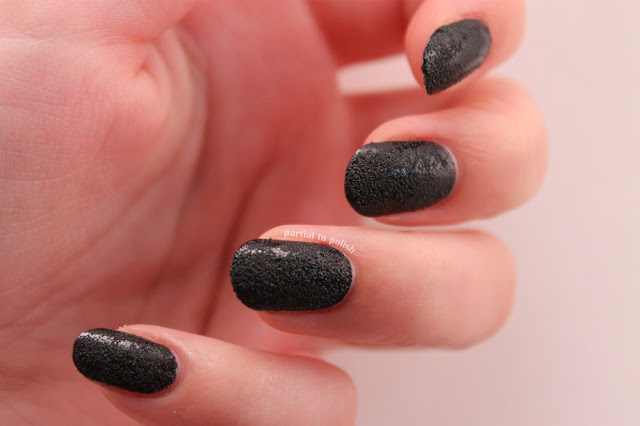
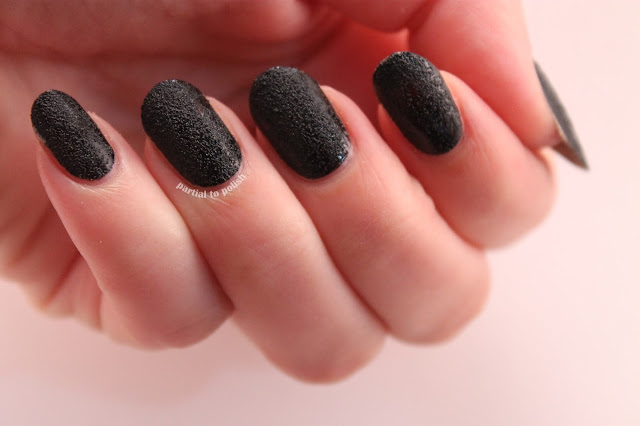
I'm going to go ahead and talk about the formula here because almost all of them had the same formula, I'll mention the differences under the pictures if there are any! These polishes were quite easy to work with as long as you applied thick coats (to get the polish where you want it and to not build a grit barrier and an uneven line). Most of these polishes are white-based and most of them took two thick coats (as thin coats aren't really an option with these polishes). Dry time was really quick and to my surprise, I like these polishes as much as glitter-containing textured matte polishes!

Onto the swatches!

Sally Hansen Sweetie

Sweetie- two coats

Sally Hansen Sweetie

Sally Hansen Sweetie

Sally Hansen Sweetie


Sally Hansen Lick-O-Rich

Lick-O-Rich- one coat

You can see here what the finish of these polishes look like at one coat, there are shiny and smooth bits as well as gritty matte ones!

Sally Hansen Lick-O-Rich

Sally Hansen Lick-O-Rich

Sally Hansen Lick-O-Rich


Sally Hansen Sour Apple

Sour Apple- two coats

Sally Hansen Sour Apple

Sally Hansen Sour Apple

Sally Hansen Sour Apple


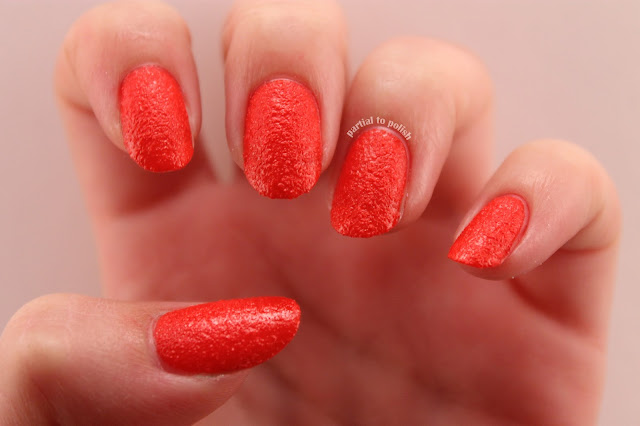
Sally Hansen Cherry Drop

Cherry Drop- two coats

This polish was a jelly polish, not a white-based creme like the other four Sugar Coats in this post. It was super opaque but at two coats it still had VNL because it's a jelly. This polish had a longer drying time than the rest, and it had a more subtle textured matte effect.

Sally Hansen Cherry Drop

Sally Hansen Cherry Drop

Sally Hansen Cherry Drop


Sally Hansen Sugar Fix

Sugar Fix- two coats

Sally Hansen Sugar Fix

Sally Hansen Sugar Fix

Sally Hansen Sugar Fix

Thanks for reading and taking a look! :)

Tuesday, 23 July 2013

Hard Candy Black Tie Optional over a Pink to Orange Gradient!

Hey everybody! Check out the light box I made all by myself!

Homemade Light Box

I can take pictures at night and have consistent and even light!!!!!!!!!

I took these pictures last night! I'm so happy and excited if you can't tell! Today I have swatches of China Glaze Dance Baby and a pink to orange gradient topped with black and white glitter for you! The lighting doesn't look amazing in the swatch pictures, but I think that's because Dance Baby is a bad colour on me and it makes my skin look weird and kind of tan. However, I am so happy with the gradient with glitter pictures because I think the lighting looks awesome!

Onto the photos!

China Glaze Dance Baby

This is two coats of China Glaze Dance Baby and no top coat! The formula of this polish was awesome and it was almost a one-coater! This polish was super easy to work with.

China Glaze Dance Baby

Hard Candy Black Tie Optional

The orange used in this gradient was Essie Tart Deco and the black and white glitter is the famous Hard Candy Black Tie Optional!

Hard Candy Black Tie Optional

Hard Candy Black Tie Optional

Hard Candy Black Tie Optional

Thanks for having a look! Please let me know in the comments if you think the new lighting looks good and if you prefer it and the background over what I used to use! :)
Monday, 22 July 2013

Black and White Glitter Topper Comparison and Julep Adriana!

Hey all! Today I have a swatch of Julep Adriana and a black and white glitter polish comparison to show you featuring two indie polishes!

I bought a bunch of black and white glitter polishes recently and I've hardly/never used them! I kind of fell in love with all the glitter toppers featured in this post and I'm thinking of doing a gradient topped with one of them and posting that tomorrow!

I've made myself a light box but I still need some white light lightbulbs and a few lamps, so bear with the inconsistent lighting! Maybe I'll post my gradient topped with black and white glitter tonight if I get my light box in working order by then!

Anyways, onto the pictures!

Julep Adriana

I took a few pictures in the Sun of Adriana after I took these shade pictures, and I noticed it had bubbled pretty badly. What you see here is two coats and no top coat! I didn't wait very long between coats, but I waited as long as I do swatching Black Sheep Lacquer polishes and they have never bubbled on me!

Julep Adriana

Black and White Glitter Polish Comparison

Thumb and ring finger: Hard Candy Black Tie Optional
Index finger: Dollish Polish Putting on the Ritzzz!
Middle finger: Black Sheep Lacquer A Letter to the New York Post
Pinkie finger: Sally Hansen Tweedy

They were all super easy to work with and had lovely formulas!

Black and White Glitter Polish Comparison

Black and White Glitter Polish Comparison

Let me know if you have a favourite or any questions in the comments! Thanks for reading my lovely people! :)

Saturday, 20 July 2013

China Glaze Inner Beauty and Simple Cartoony Flowers!

Hello everyone! Today I have swatches of China Glaze Inner Beauty and some simple floral nail art to share!

I'm really not sure about what lighting looks the best for my pictures so lately the lighting of my pictures has been very varied, I apologize! I'm thinking of making or buying a light box for more consistent pictures, let me know what you think I should do or a good light box you've heard of in the comments!

Onto the pictures!

China Glaze Inner Beauty

This is three coats of Inner Beauty and a coat of top coat! It had a lovely formula and it seemed to dry pretty quick!

China Glaze Inner Beauty

China Glaze Inner Beauty

China Glaze Inner Beauty


The blue seen here is Black Sheep Lacquer Aquabat (without glitter), the orange is Black Sheep Lacquer Orange Blossom, the pink is Butter London Trout Pout, and the green is Julep Adriana!


Thanks for reading everybody! I think I'll be painting some nails today and tonight I get to babysit my boyfriend's little baby niece, I'm so excited! Hope you all have a lovely day planned as well! :)